You downloaded an ISO file. Maybe it's a Windows installer, a Linux live disc, or a game backup. Now your burning software keeps failing - or you're not sure which setting actually matters.
ImgBurn handles ISO burning correctly every time - if you know which mode to use and which settings to change. This guide covers exactly that, start to finish.
What You Need Before You Start
Before opening ImgBurn, make sure you have three things ready: your ISO file, a blank disc (DVD-R, CD-R, or BD-R depending on the ISO size), and a working optical drive.
ISO files under 700 MB fit on a CD-R. Files between 700 MB and 4.7 GB need a DVD-R. Anything larger requires a dual-layer DVD+R DL or a Blu-ray disc.
If you haven't installed ImgBurn yet, download the clean version - it skips the OpenCandy adware included in the official installer:
Download ImgBurn 2.5.8.0 - Clean Installer (No Adware) from codecs.com before continuing.
Step 1 - Open Write Mode
Launch ImgBurn. The main window shows six large mode icons arranged in a grid. You want the first one: Write image file to disc.
This is ImgBurn's dedicated ISO burning mode. Do not use Build Mode or Create Mode for this task - those are for creating new images, not burning existing ones.
Step 2 - Load Your ISO File
In Write Mode, look for the Source section at the top of the window. Click the small folder icon to the right of the file path field.
Browse to your ISO file and select it. ImgBurn reads the file header and automatically detects the disc type, layer break position (for dual-layer DVDs), and required capacity.
The Destination field below should automatically show your optical drive. If you have more than one drive, use the dropdown to select the correct one.
Step 3 - Set Your Write Speed
This is the step most people skip - and the most common cause of coasters (failed discs). Faster is not better for disc burning.
Set the write speed to 4x or 8x, regardless of what your disc or drive claims to support. Slower speeds give the laser more time per sector, which dramatically reduces read errors on the finished disc.
For bootable discs - Windows installers, Linux live CDs, recovery media - always burn at 4x. A bootable disc that fails during installation is far more frustrating than waiting an extra two minutes.
Step 4 - Enable Verify (Recommended)
In the Write Mode window, check the Verify checkbox. This tells ImgBurn to compare every byte on the finished disc against the original ISO file after burning.
Verification adds a few minutes, but it catches silent data corruption before you discover the disc doesn't work. For anything important - OS installers, backups, archives - always verify.
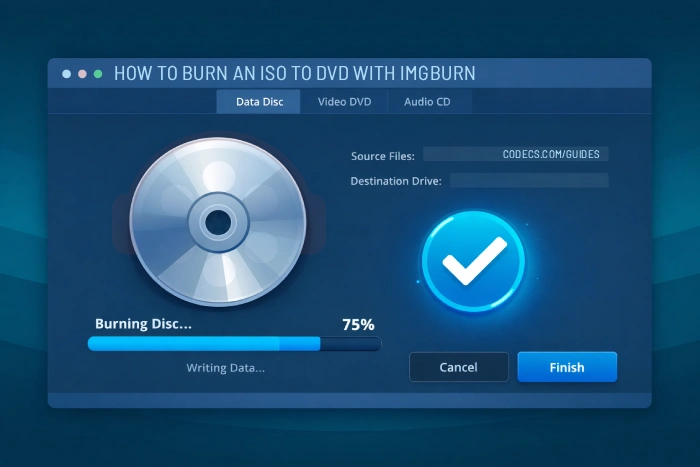
Step 5 - Burn the Disc
Insert your blank disc if you haven't already. Click the large burn icon at the bottom of the Write Mode window - it looks like a disc with a lightning bolt.
ImgBurn will show a progress bar, current write speed, and buffer status as it burns. You'll see the write speed fluctuate slightly - this is normal.
When burning finishes, the verification pass runs automatically if you enabled it. Once both complete, ImgBurn reports "Operation Successfully Completed" in the log window.
Testing Your Burned Disc
For data or video discs, eject and reinsert the finished disc. Try opening files or playing the disc in VLC Media Player, which reads virtually every disc format without additional codecs.
For bootable discs, the only reliable test is actually booting from them. Restart your PC, enter the boot menu (usually F12 or F8), and select your optical drive.
If you need a bootable USB drive instead of a disc, Rufus handles that task and is the most reliable free option available.
Dual-Layer DVD ISO: Extra Step Required
If your ISO is between 4.7 GB and 8.5 GB, it requires a dual-layer DVD+R DL disc. ImgBurn handles the layer break automatically for most DVD-Video images.
For non-video dual-layer ISOs, go to Tools > Settings > Write and check "Set Layer Break". Let ImgBurn calculate the optimal break position - don't set it manually unless you have a specific reason.
Dual-layer burns are more sensitive to disc quality. Use Verbatim DVD+R DL discs. Cheap no-brand dual-layer media fails far more frequently than single-layer discs.
Quick Settings Reference
- Write speed: 4x for bootable discs, 8x for data/video.
- Verify: Always enable for anything important.
- Overburn: Leave disabled unless your ISO is within 1-2% of disc capacity.
- Buffer size: Default (40 MB) works for most systems - increase to 80 MB on slow HDDs.
- OPC: "Perform OPC Before Write" can trigger Power Calibration errors on some drives - disable it if you see that error.
Alternative: When ImgBurn Isn't the Right Tool
ImgBurn was last updated in 2013. It still works on Windows 11, but it doesn't support newer Blu-ray encryption standards or certain modern UDF formats.
If ImgBurn can't recognize your ISO or reports an unsupported format, try BurnAware Free. It's actively maintained, handles the same disc types, and has a cleaner interface for straightforward burns.
For a lightweight alternative with minimal UI, ISOburn does exactly one thing - burn ISO files to disc - with no configuration required.


Free Popular IPTV Playlist: Where to Get Fres...
5/5Hey rei, That message is VLC's way of saying it went to the address and found nothing there. MRL ...
Read More →How to Use Helium Audio Converter: Convert An...
5/5@levi Yes, it works offline, it's a desktop software.
Read More →Meet Qwant: The Private, EU-Built Alternative...
4/5I didn't know it was EU, AND france. That doesn't sound like a good idea. Related to coding or ...
Read More →